
Split Tunneling is available on MacOS devices at the IP/Hostname level. Here are the steps to enable it on your device:
1. Open the Windscribe app and tap the Preferences/Menu button in the top left

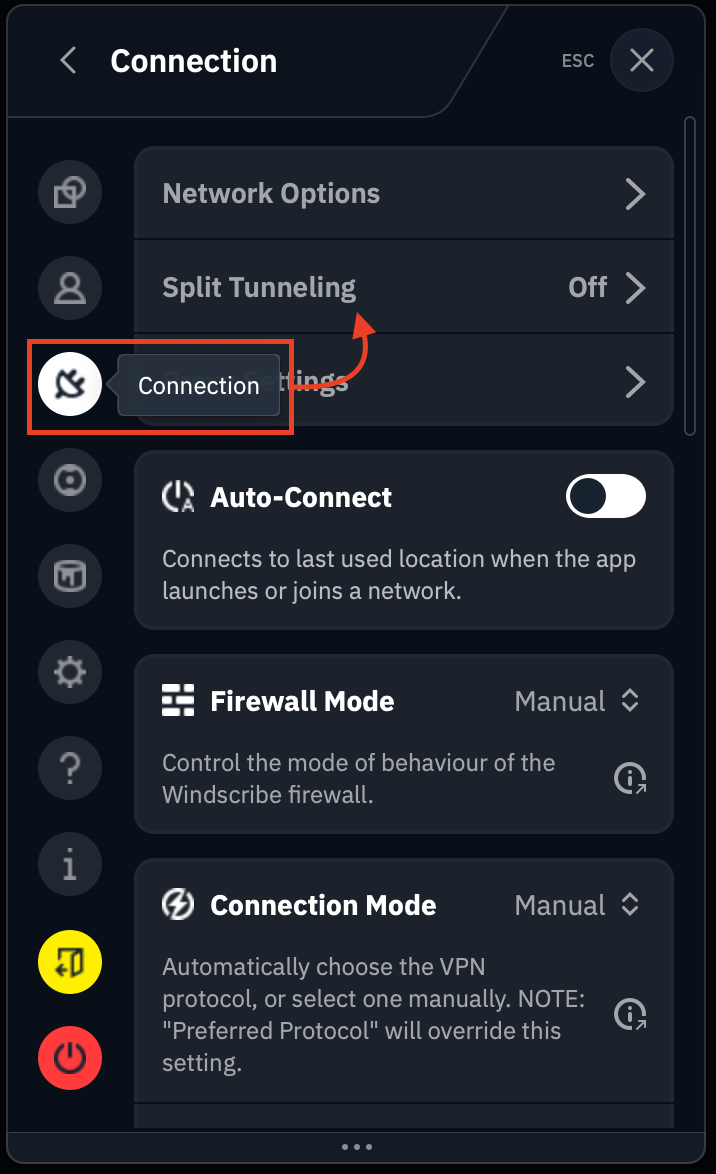
2. Go to the Connection sub menu and select Split Tunneling
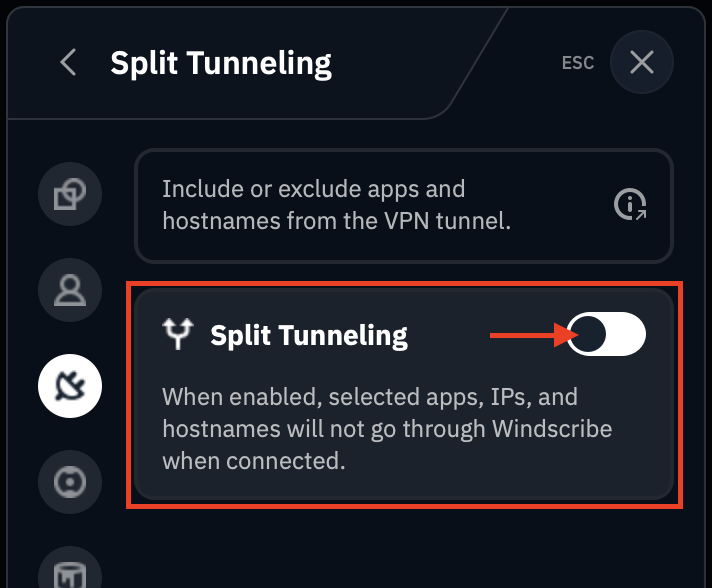
3. Toggle the switch to enable Split Tunneling on the device (green = on)
4. If this is your first time enabling this feature, you will see a warning requiring you to enable the Split Tunnel system extension in your MacOS settings
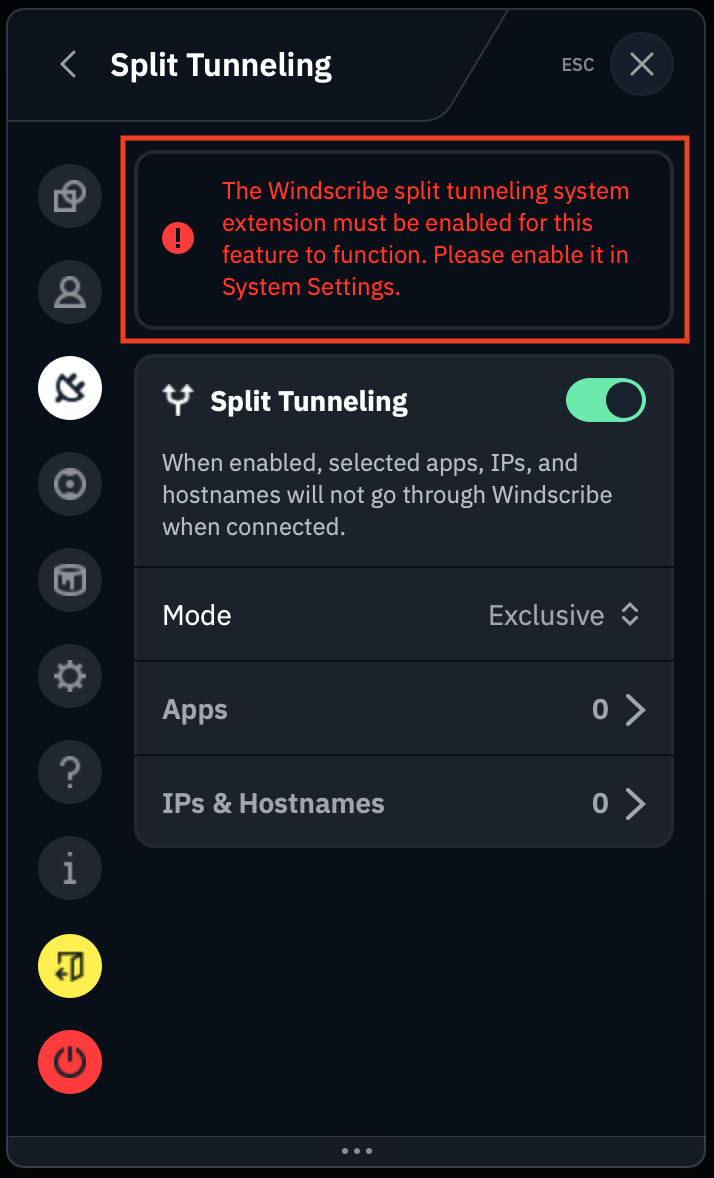
If this is not your first time, or you've already enabled this feature, proceed to the next step
5. Choose which mode of Split Tunneling you'd like to use: Exclusive or Inclusive

6. Next, select the Apps you'd like added your Split Tunnel rules. You can search from an auto populated list of installed apps on your device via the magnifying glass icon
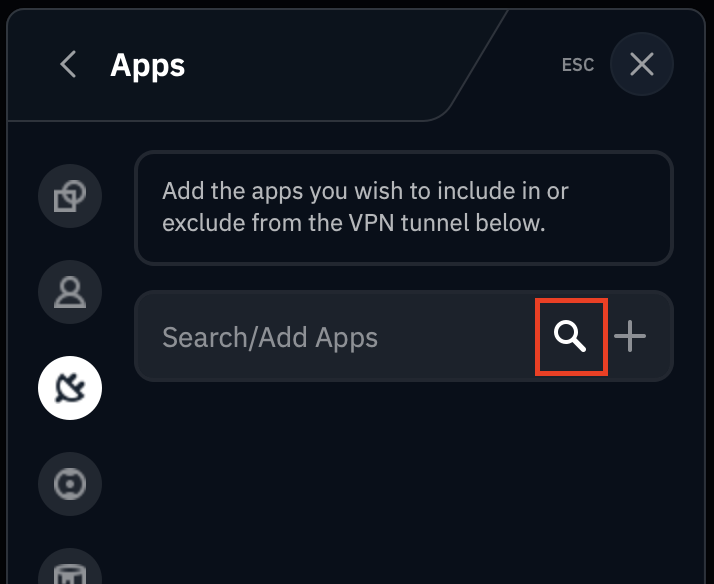
You can then scroll the list, or type in the name of an app you're looking for, like Discord in our example here:
If you'd rather use the the IPs & Hostnames option, skip to the next step.
7. Select the IPs & Hostnames option, and enter either the hostname or the IP address you'd like added Split Tunnel list of rules. Press the plus (+) icon to add it to the list.
or
8. Once you've added the IPs and/or hostnames to your rules list, return to the main application screen, disconnect from the VPN and then reconnect. You will see a small divergent arrows icon below the connect button when Split Tunneling is enabled.
